How to Rekey a Lock: A Comprehensive Guide for Improved Security and Convenience
Rekeying a lock is a common task that many homeowners, renters, and business owners need to undertake for various reasons, such as lost keys, a change in tenants, or simply for added security. Rekeying a lock is a cost-effective alternative to replacing the entire lock mechanism, and it can be a relatively straightforward process for those with some basic DIY skills.
In this comprehensive guide, we’ll delve deeper into the process to rekey a lock, providing you with the necessary information and step-by-step instructions to ensure a successful outcome.
The Rekeying Process
Rekeying a lock involves changing the internal configuration of the lock’s cylinder, which is the part that the key fits into. This process allows you to create a new key that will work with the lock, without having to replace the entire lock mechanism. The primary benefit of rekeying a lock is that it’s generally less expensive than a full lock replacement, and it allows you to maintain the existing hardware.
When you rekey a lock, you’re essentially changing the pin tumbler configuration inside the lock cylinder. The pin tumblers are small, spring-loaded pins that interact with the key’s cuts to allow the lock to open. By replacing the existing pin tumblers with a new set, you can create a new key that will work with the lock, effectively “rekeying” it.
Reasons to Rekey a Lock
There are several common scenarios when rekeying a lock may be the best course of action:
Lost or Stolen Keys
If you’ve lost your keys or they’ve been stolen, rekeying the lock can help prevent unauthorized access to your property. This is one of the most common reasons for rekeying a lock, as it ensures that the previous key no longer works, providing an added layer of door lock security.
Change in Tenants
When a new tenant moves in, rekeying the lock can ensure that the previous tenant’s key no longer works, providing a fresh start and improved security. This is particularly important in rental properties or shared living situations.
Increased Security Needs
If you feel that your current lock is not providing enough security, rekeying it can be a cost-effective way to upgrade the level of protection. This could be due to concerns about the lock’s age, quality, or the overall security of your property.
Routine Maintenance
Regularly rekeying your locks, even if you haven’t experienced any issues, can be a proactive measure to maintain the overall security of your property. This can help prevent potential security breaches and ensure that your locks are always functioning at their best.
Gathering the Necessary Tools and Supplies
Before you begin the rekeying process, you’ll need to gather the following tools and supplies:
Lock Rekeying Kit
This kit typically includes a variety of small tools, such as a plug follower, a key gauge, and a rekeying tool, which are specifically designed for the rekeying process. These tools are essential for disassembling the lock and manipulating the internal components.
New Keys
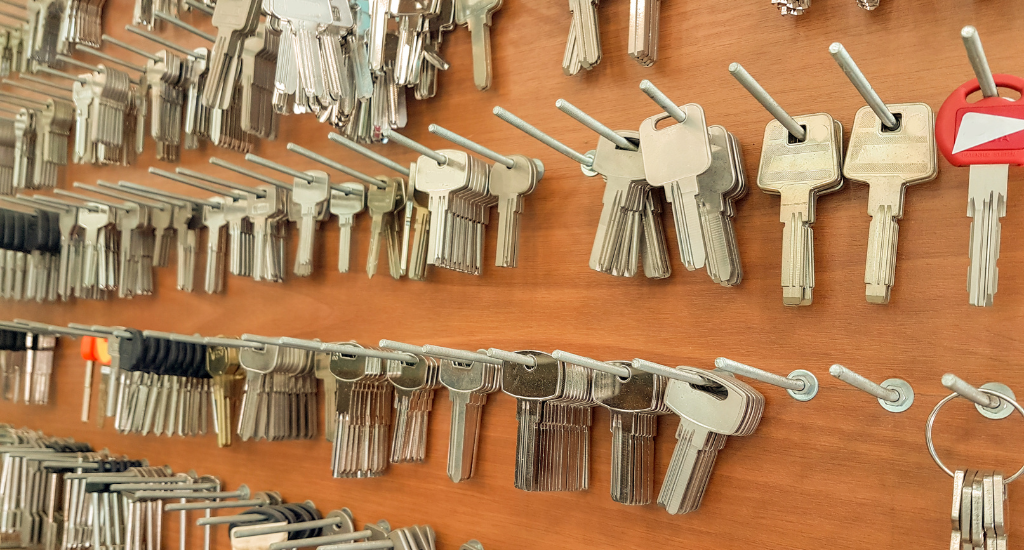
Depending on your needs, you may need to purchase one or more new keys that will work with the rekeyed lock. Make sure to choose keys that are compatible with your lock’s brand and model.
Lubricant
A small amount of lubricant, such as graphite powder or a silicone-based lock lubricant, can help ensure smooth operation of the lock after rekeying.
Screwdrivers
You may need a variety of screwdrivers, including flathead and Phillips head, to disassemble the lock.
Pliers
A pair of pliers can be helpful for grasping and manipulating small parts during the rekeying process.
Magnifying Glass (Optional)
Depending on the size and complexity of the lock, a magnifying glass can be useful for closely examining the internal components.
Step-by-Step Rekeying Instructions

| Step 1 |
Prepare the Lock |
Begin by removing the lock from the door, if possible. This will make the rekeying process easier and allow you to work on the lock in a more accessible location. If you can’t remove the lock, you can still rekey it while it’s installed, but it may be more challenging. |
| Step 2 |
Disassemble the Lock |
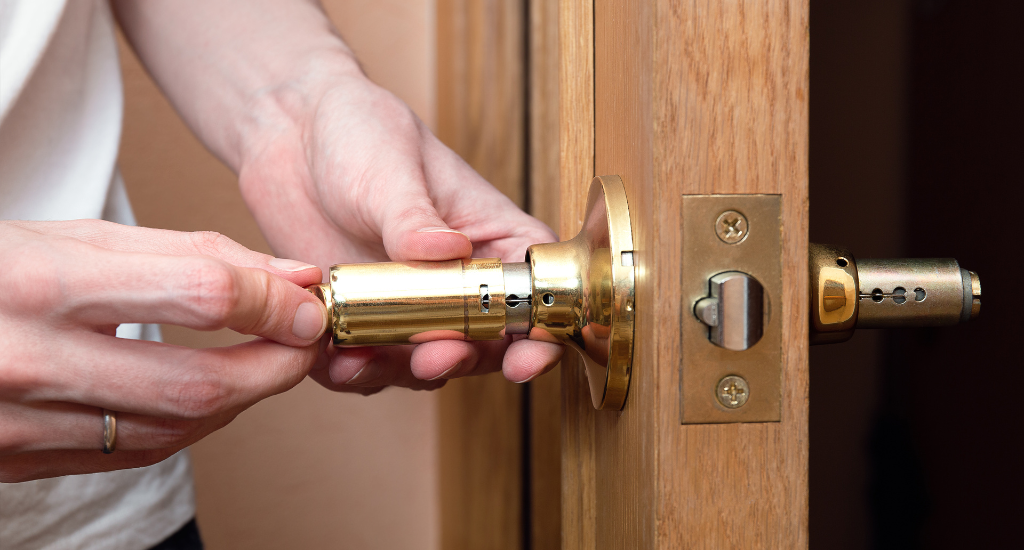
Using the appropriate screwdrivers, carefully disassemble the lock, exposing the internal components, such as the cylinder and the pin tumblers. |
| Step 3 |
Remove the Cylinder |
Locate the cylinder, which is the part that the key fits into, and remove it from the lock housing. This is typically done by unscrewing a retaining screw or using a special tool to release the cylinder. |
| Step 4 |
Identify the Key Code |
Examine the existing key and look for any numbers or codes stamped on it. This information can be used to determine the correct pin configuration for the new key. |
| Step 5 |
Insert the Plug Follower |
Using the plug follower tool from your rekeying kit, carefully insert it into the cylinder to hold the pin tumblers in place while you work. |
| Step 6 |
Remove the Old Pin Tumblers |
Using the rekeying tool, carefully remove the old pin tumblers from the cylinder. Be sure to keep track of the order and orientation of the pin tumblers, as this information will be needed when reassembling the lock. |
| Step 7 |
Install the New Pin Tumblers |
Insert the new pin tumblers into the cylinder, following the correct order and orientation based on the key code you identified earlier. This step may require some trial and error to ensure the new key fits properly. |
| Step 8 |
Reassemble the Lock |
Once the new pin tumblers are in place, carefully reassemble the lock, ensuring that all the components are properly aligned and secured. |
| Step 9 |
Test the New Key |
Insert the new key into the lock and turn it to ensure that it operates smoothly and the lock functions correctly. |
| Step 10 |
Lubricate the Lock |
Apply a small amount of lubricant to the lock’s internal components to ensure smooth operation and prevent future issues. |
| Step 11 |
Reinstall the Lock |
If you removed the lock from the door, carefully reinstall it, making sure it’s properly aligned and secured. |
Tips for Successful Rekeying
Here are the tips for rekeying a lock in short, meaningful bullet points:
- Consult manufacturer’s instructions for guidance
- Take your time to avoid damaging lock components
- Label and organize parts for easy reassembly
- Consider hiring a professional if unsure
- Ensure new key fits lock smoothly and securely
- Dispose of old keys properly to prevent misuse
- Regularly lubricate and maintain the rekeyed lock

Rekeying a lock is a practical and cost-effective way for keeping home secure and also to improve the security of your business, or rental property without the need for a full lock replacement. By following the steps outlined in this comprehensive guide and using the appropriate tools and supplies, you can successfully rekey a lock and enjoy the benefits of enhanced security and convenience.
Remember to take your time, consult the manufacturer’s instructions, and consider seeking professional assistance if you encounter any difficulties during the process. Regularly rekeying your locks can be a proactive measure to maintain the overall security of your property and provide peace of mind.
